The Interior Guy, Automotive Mobile Leather and Vinyl Repair
Experience luxury and durability with our top-quality dyes and products with expert professional state of the art application of leather and vinyl repair
Experience luxury and durability with our top-quality dyes and products with expert professional state of the art application of leather and vinyl repair
At The Interior Guy, Llc. , we've been providing exceptional leather and vinyl repair services here in Springfield, Missouri and surrounding area since 1999. Our experience and expertise ensures that your car will receive the highest quality service possible.
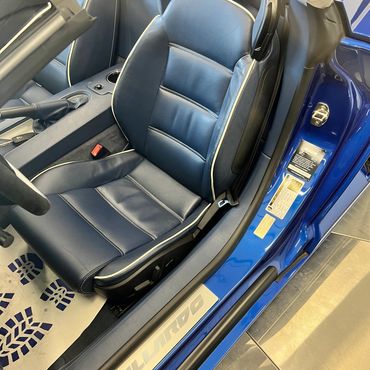
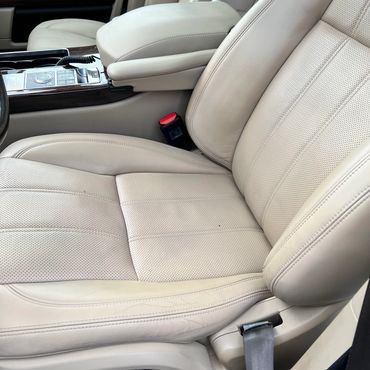
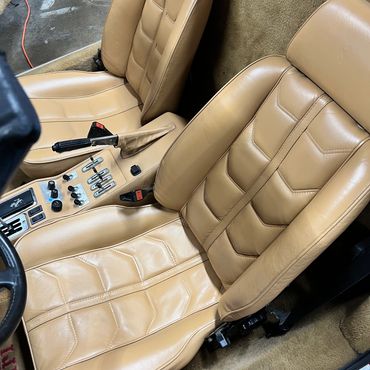
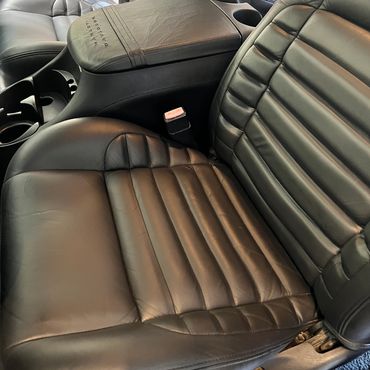
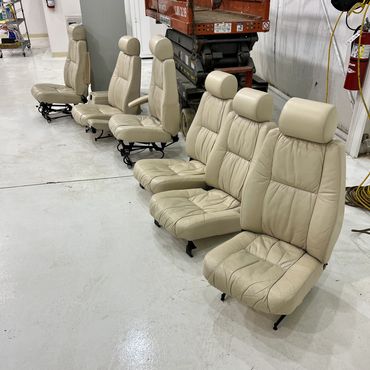
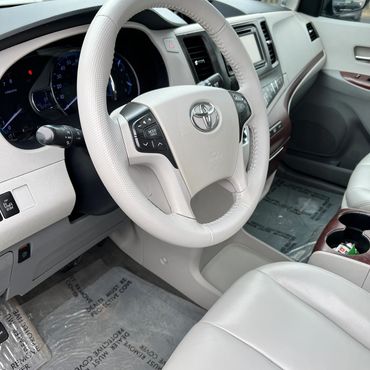
We offer a wide range of customization services to make your car truly one-of-a-kind. From custom leather seat dying and restoration to repairs of vinyl trim, we bring life back into your vehicle
We pay close attention to every detail to ensure that your car looks and feels great. From taking the time to prep and clean a repair area prior to work insuring the best repair possible to masking and covering any area around the repair insuring no overspray gets where its not supposed to. Professional results are guaranteed as we work with you to create a look that you'll love.